Planning an Adventure | AllTrails
- Joanna Lee

- Aug 22, 2023
- 3 min read
The first step in any adventure is choosing a destination to explore. Whether you are going out with your family or embarking on a solo adventure, you want to be as prepared as possible. This includes: details about your route, the weather forecast, recent conditions and much more. The AllTrails app is a great resource for all this information. I use this app to plan and feel prepared for all my adventures.
AllTrails was founded on the basis that nature makes us all the best version of ourselves; they promote recreating safely, responsibly and respectfully. Their mission is “to kindle the spirit of adventure”; I don’t know about you, but that makes me want to get outside and enjoy this beautiful world. They created a cell phone app that is designed to connect you to nature no matter where you live. Here is how I use AllTrails to plan an adventure…
Using AllTrails
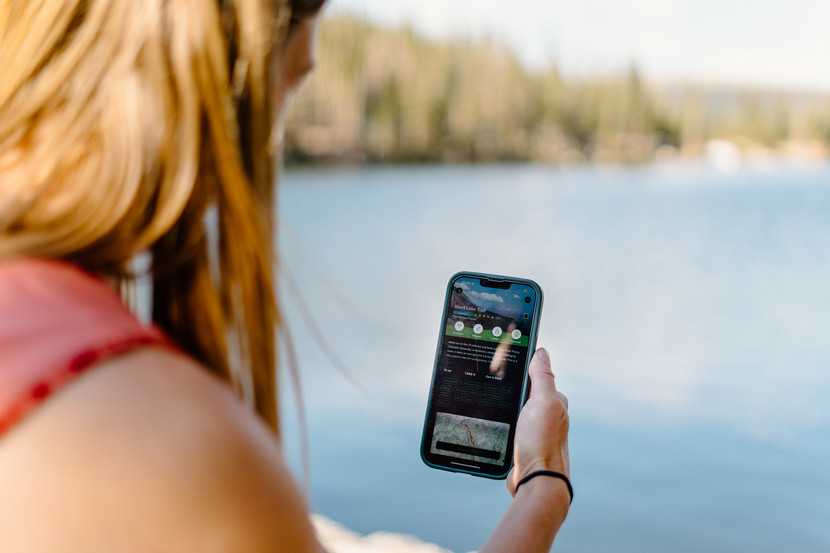
The first step is to download the AllTrails app. I start by searching for a location; you can search by a city, town, state park, regional park, national park or exact trail name with a designated search radius. You can also search by looking at a map view which allows you to browse the area and see your options. You will likely see a long list of options initially. From here you can add filters: some of the most helpful filters are: activity type, distance, elevation gain, difficulty, dog-friendly, kid-friendly, wheelchair-accessible, route type, trail traffic, and attraction type (this list is expansive including: waterfall, lake, wildlife, historic sites, and views). You can select as many or as few filters as you wish to narrow down your search. If you realize you narrowed your options too much you can adjust filters at any point in the process. Once you have a shorter list, you can click on the trail from the list or map and it will bring you to a more detailed page that lists the trail specifics, features of the trail, weather forecast, any important information about the area or trail such as reservations or parking fees, recent reviews and a map.
Once you have picked your trail you can use the app to gather all the information such as: distance, elevation gain and route type. The trail information also includes the average time it takes people to complete it which can help set expectations, plan start time and determine how much food or water you need to bring. Lower down you will see the map; this is a topographic map that will show your location on the trail as you hike. If you have AllTrails Pro, more details below, you can also download the map for offline use. Next you will see a description section. This area provides important information such as seasonal closures, reservation information and parking information. Then you will see the weather section; this is based on the nearby area but I have found it to be relatively accurate. Lastly are reviews; which can be a very important piece of planning. You can filter by ‘newest first’ which allows you to see recent trail conditions. If it is a quieter trail with no recent reviews I often scroll back to find a review from a similar time of year. In the reviews section you will also find photos of the hike.
As you can tell, each page on the AllTrails app contains a lot of information to help you plan your adventure and feel prepared. I usually narrow it down to a few options and then deep dive into each one to find the best fit. Be prepared & have fun!!
AllTrails Pro
The AllTrails app is free to download and use through the website. With the free version you have full searching and saving capabilities. In the app you have the option to upgrade to AllTrails Pro. AllTrails Pro allows you to download maps. This is helpful in case you don’t have cell phone service on your hike. The subscription is $2.50 per month or $29.99 per year. For me this cost is absolutely worth it and I highly recommend it.
Related Links & Resources


Comments